Grow Your Own Microgreens and Herbs
It’s well known that going vegan and increasing your intake of fresh vegetables and fruits can benefit both your physical and mental health and do a world of good for animals. One of the best parts about going vegan is learning new ways to use plants in your cooking, and there’s nothing like having fresh greens and herbs on hand for your culinary adventures. Plus, eating plant-based foods means you won’t be supporting highly abusive animal agriculture.
Planting microgreens and herbs is a great introduction to gardening—and it’s easy enough that anyone can do it! In addition to being extremely nutritious and adding great flavor and texture to a dish, microgreens and herbs add a beautiful pop of color to your meal that will be sure to entice dinner guests. The best part is that you don’t need lots of space, time, or money to grow them.
All you need to do is decide what you want to grow and then purchase your seeds and equipment.
1. Start by choosing your seeds.
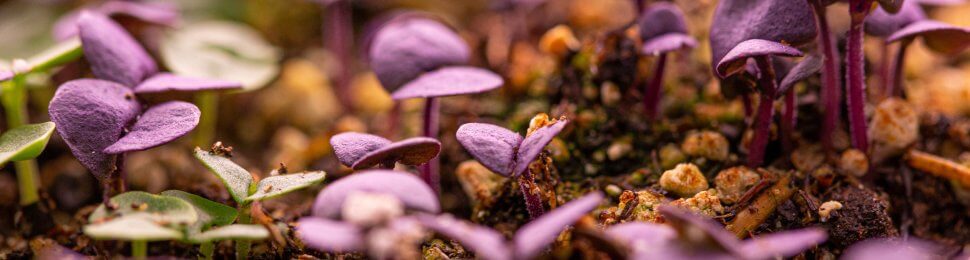
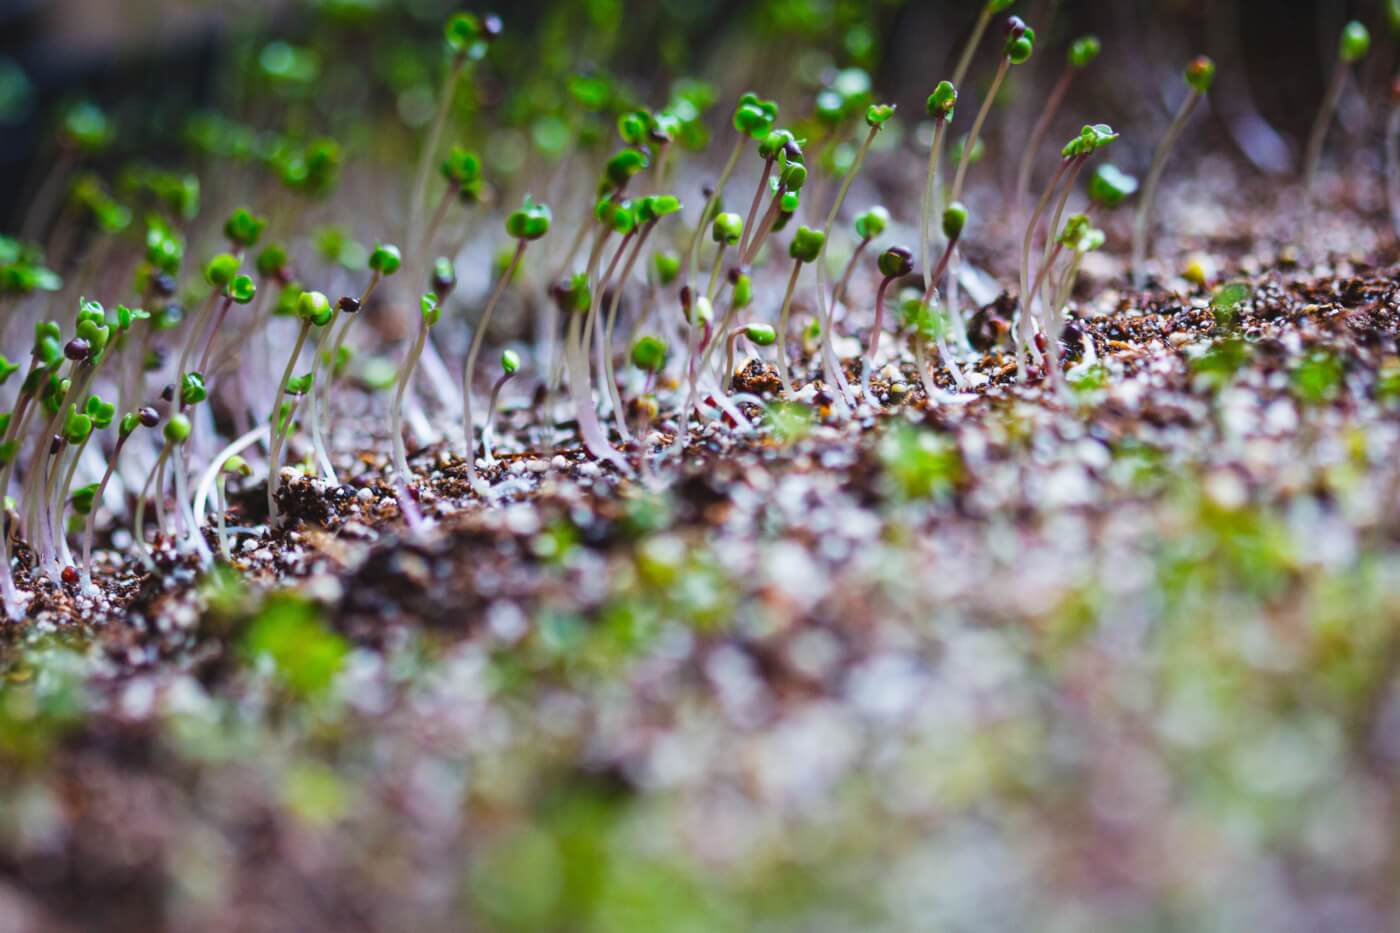
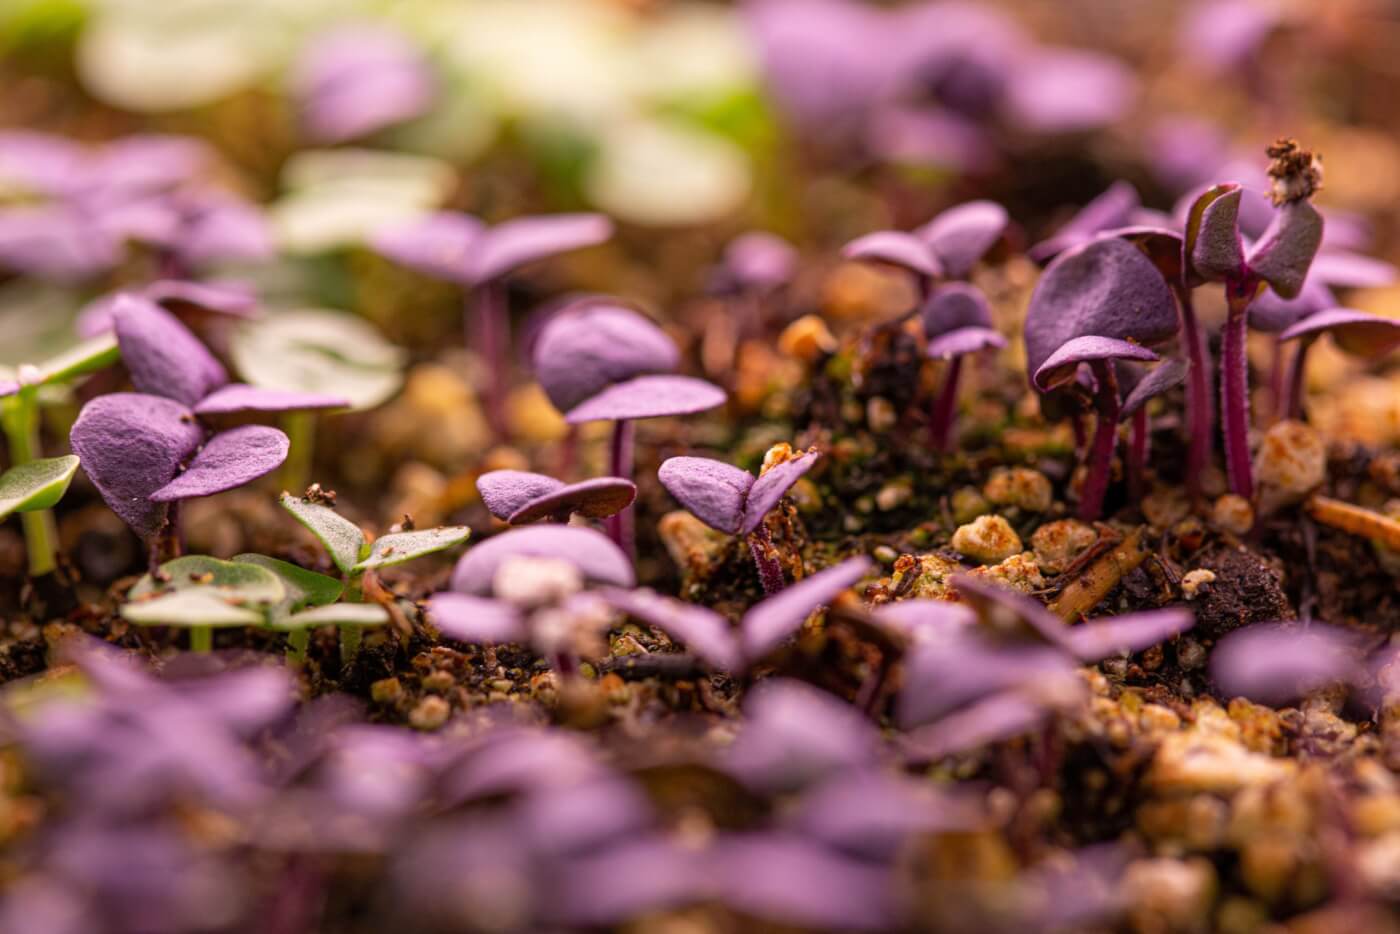
Microgreens are very young vegetables and herbs. Rather than allowing these plants to grow to maturity, you harvest them early—they’re often ready to harvest only a few weeks after they’ve been planted. Some of the most popular varieties include radish greens, kale, arugula, peas, and basil.
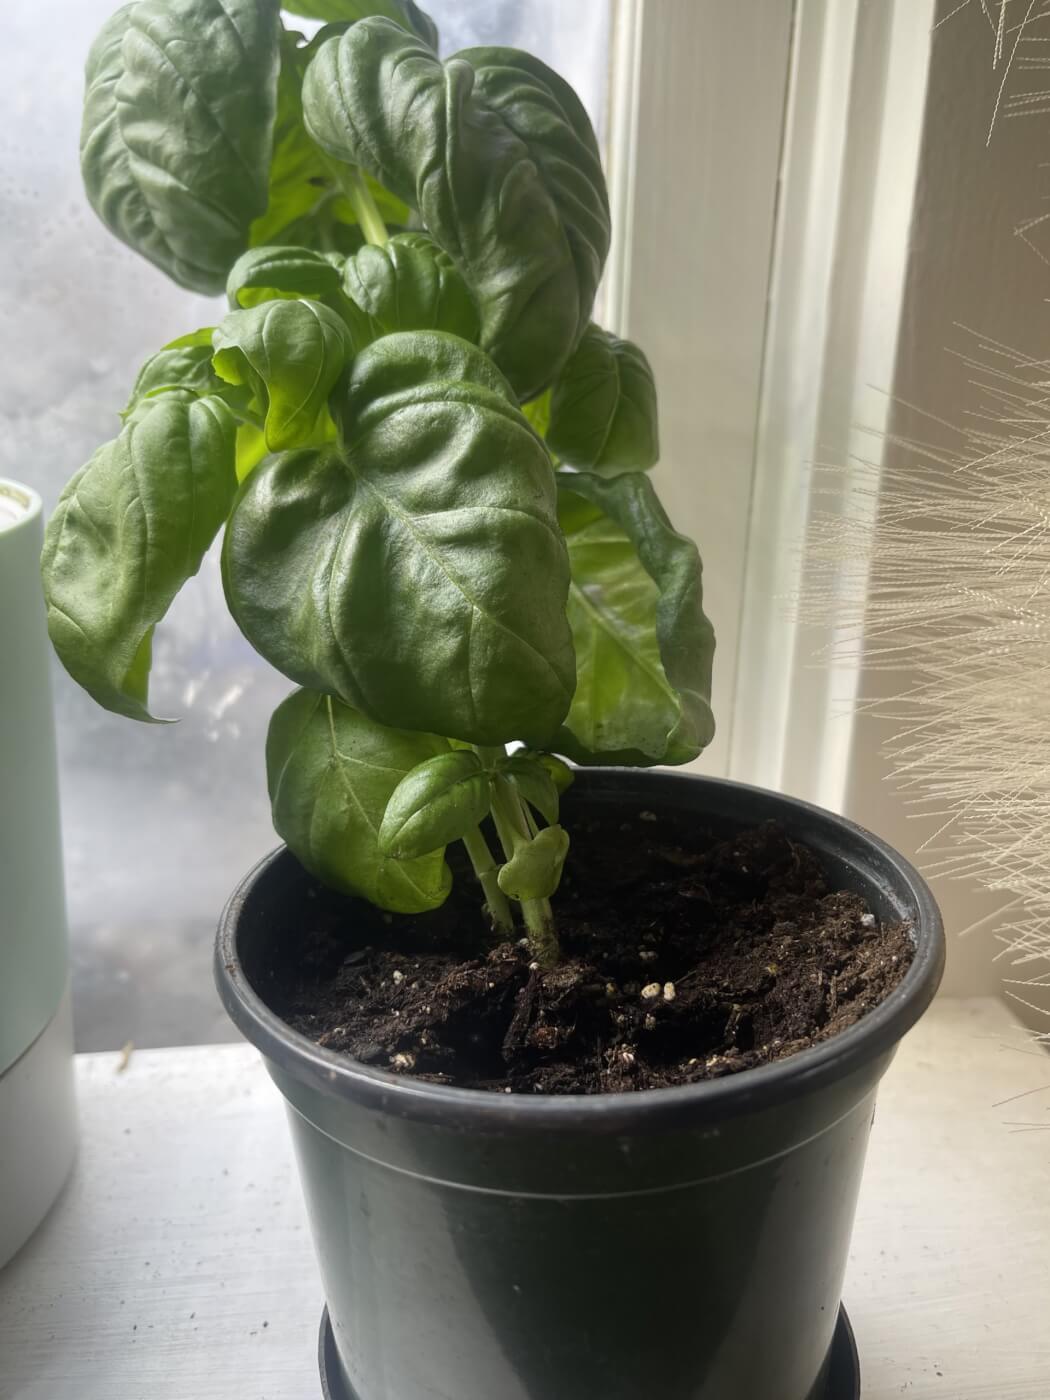
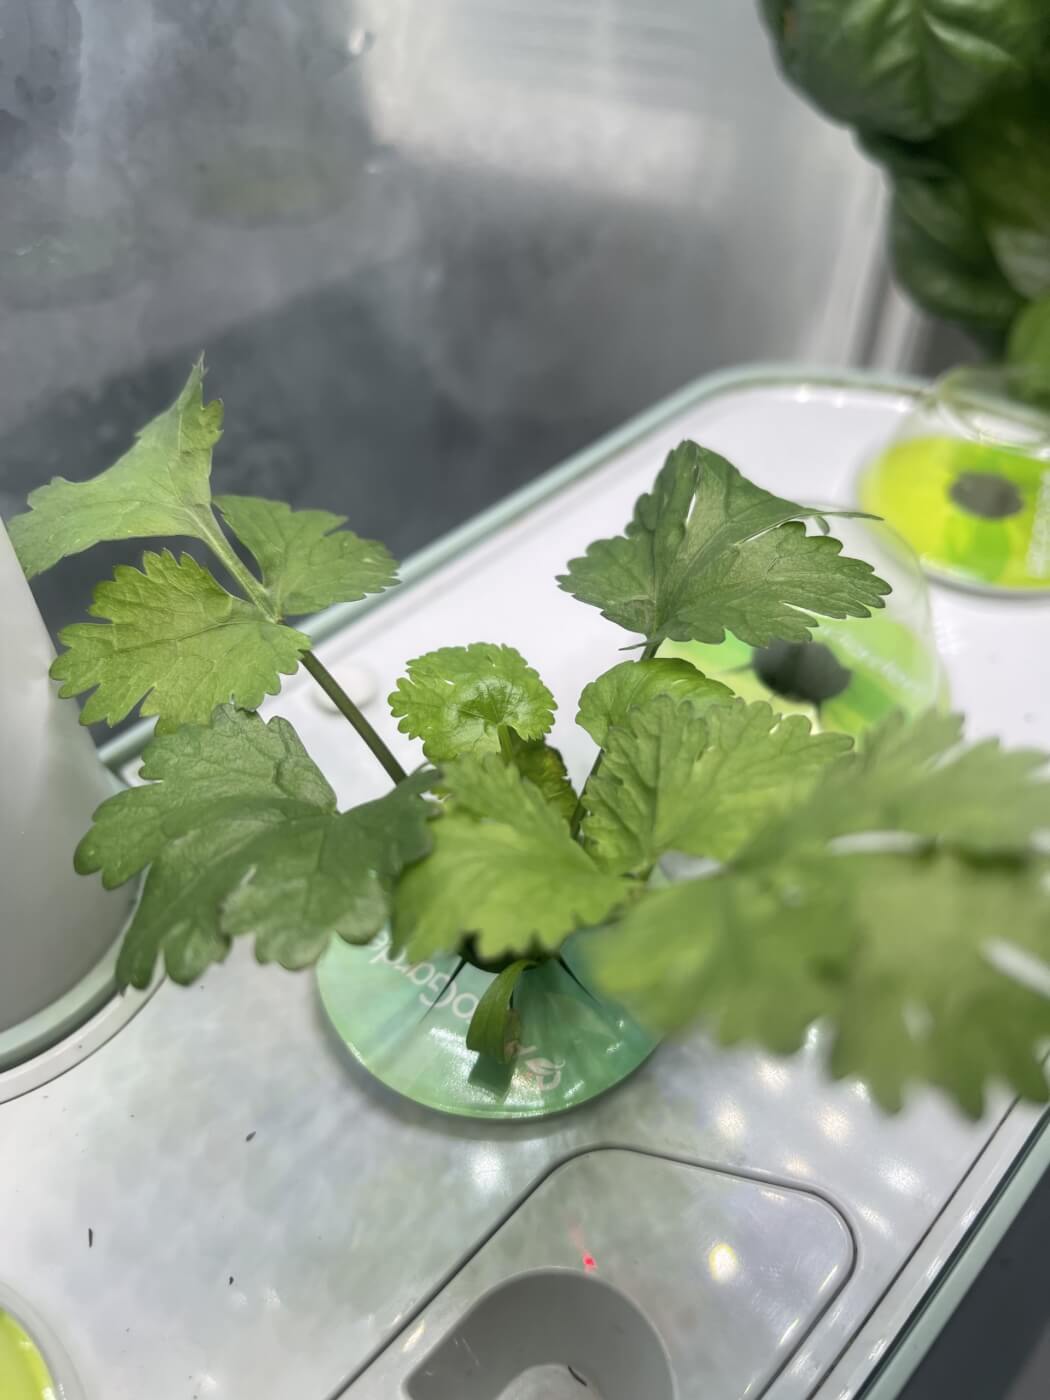
When choosing which herbs you’d like to grow, consider what kinds of food you enjoy cooking and eating. If you often cook Italian dishes such as pizzas and pastas, you might enjoy having fresh basil and oregano on hand. Cilantro is wonderful in Mexican dishes, including tacos, burritos, and nachos. And lemon balm and peppermint are perfect for making your own medicinal teas. You can even grow catnip indoors for your cat to enjoy!
Common herbs you can grow indoors include the following:
- Basil
- Catnip
- Chives
- Cilantro
- Lemon balm
- Mint
- Oregano
- Sage
- Thyme
2. Gather your growing containers.
For both herbs and microgreens, you’ll need well-draining containers. Shallow trays are great for microgreens, as they have short roots. You can purchase specific trays just for microgreens or be even more eco-friendly by repurposing plastic food containers that you already have at home.
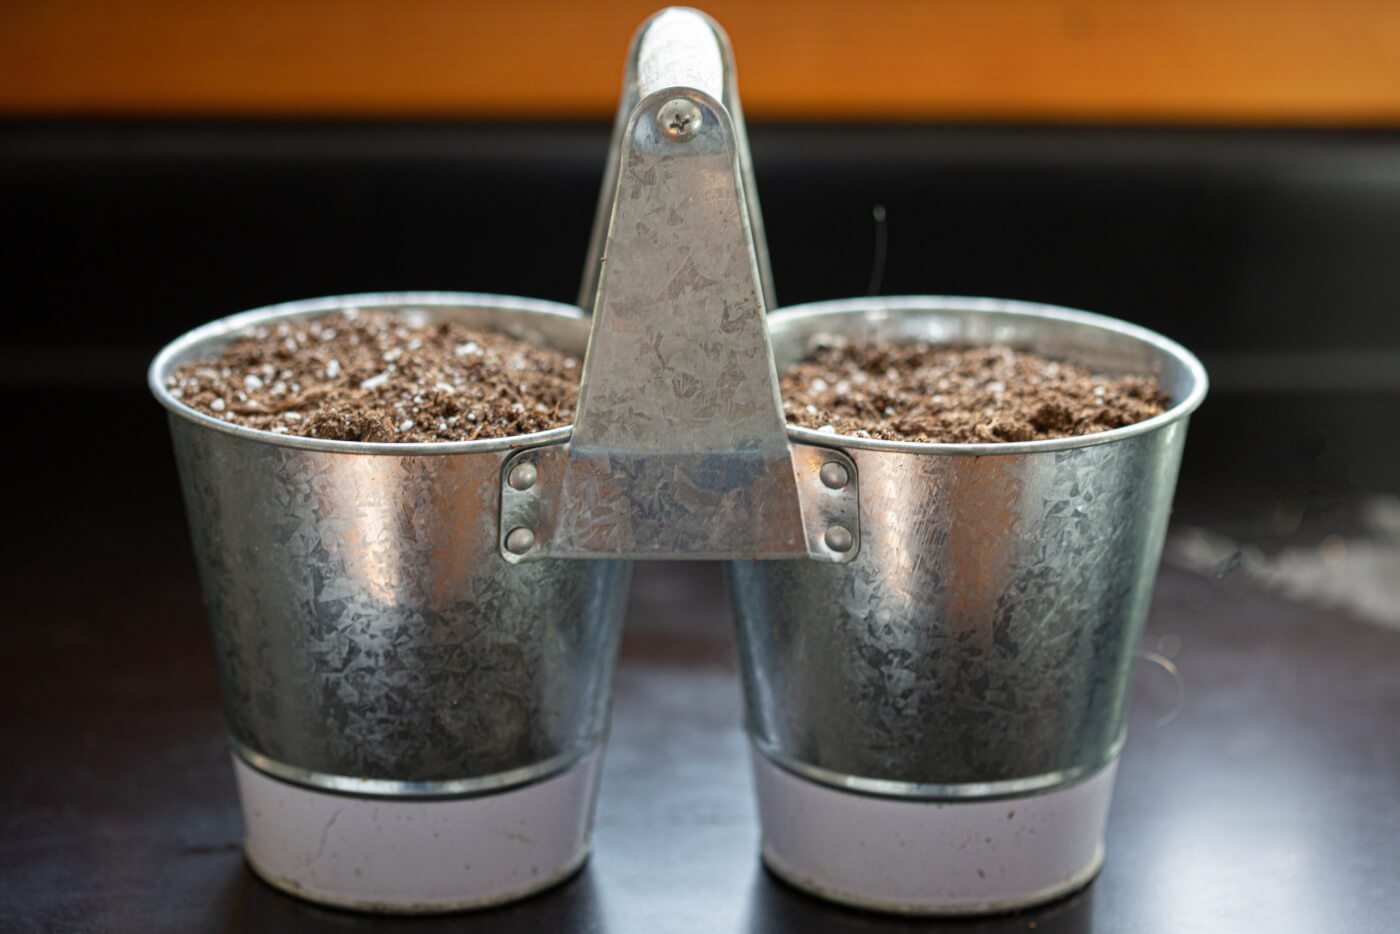
Herbs need deeper containers because their roots are longer. Options for these pots or containers are endless and can be made of plastic, metal, terracotta, or ceramic—just be sure that whatever container you choose has adequate drainage. Eight- to 10-inch pots are a good standard size for most herbs. If you get a larger pot, you can even plant multiple herbs in one container, as long as they have similar light, water, and nutrient requirements.
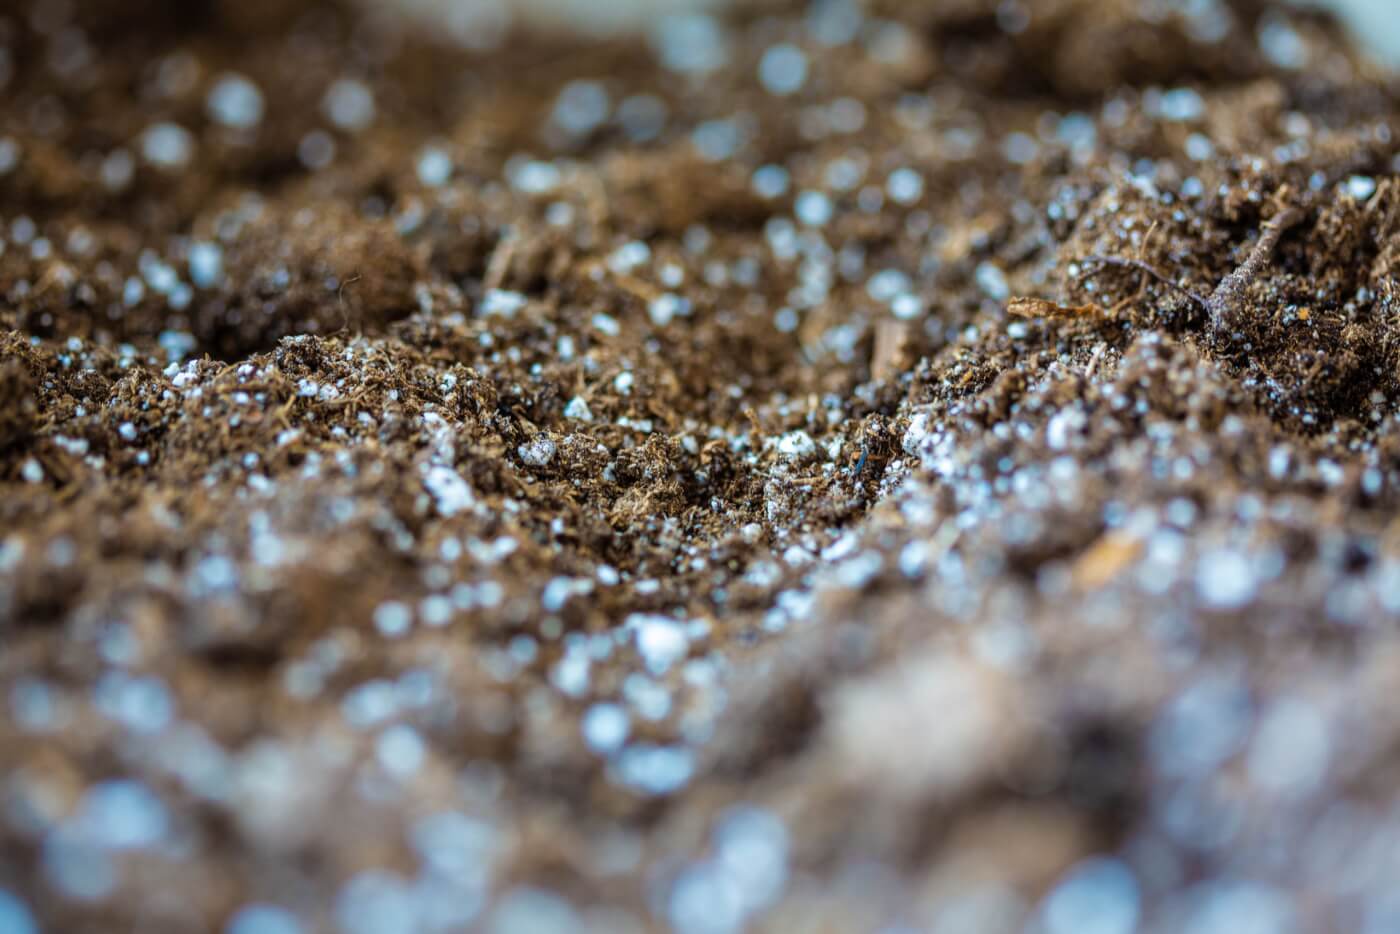
3. Choose your soil mixture.
A good soil option for microgreens and herbs will contain a mixture of peat moss or coconut coir and perlite, all of which can be found at your local gardening store. You can also find indoor potting mix or seed starting mix that will work well for microgreens and herbs. Check the label for whatever soil mix you choose to make sure it doesn’t include any animal-derived ingredients, manure, blood and bone meal from factory-farmed animals, or fish emulsion and fish meal from the rapacious commercial fishing industry.
4. Plant your herbs and microgreens.
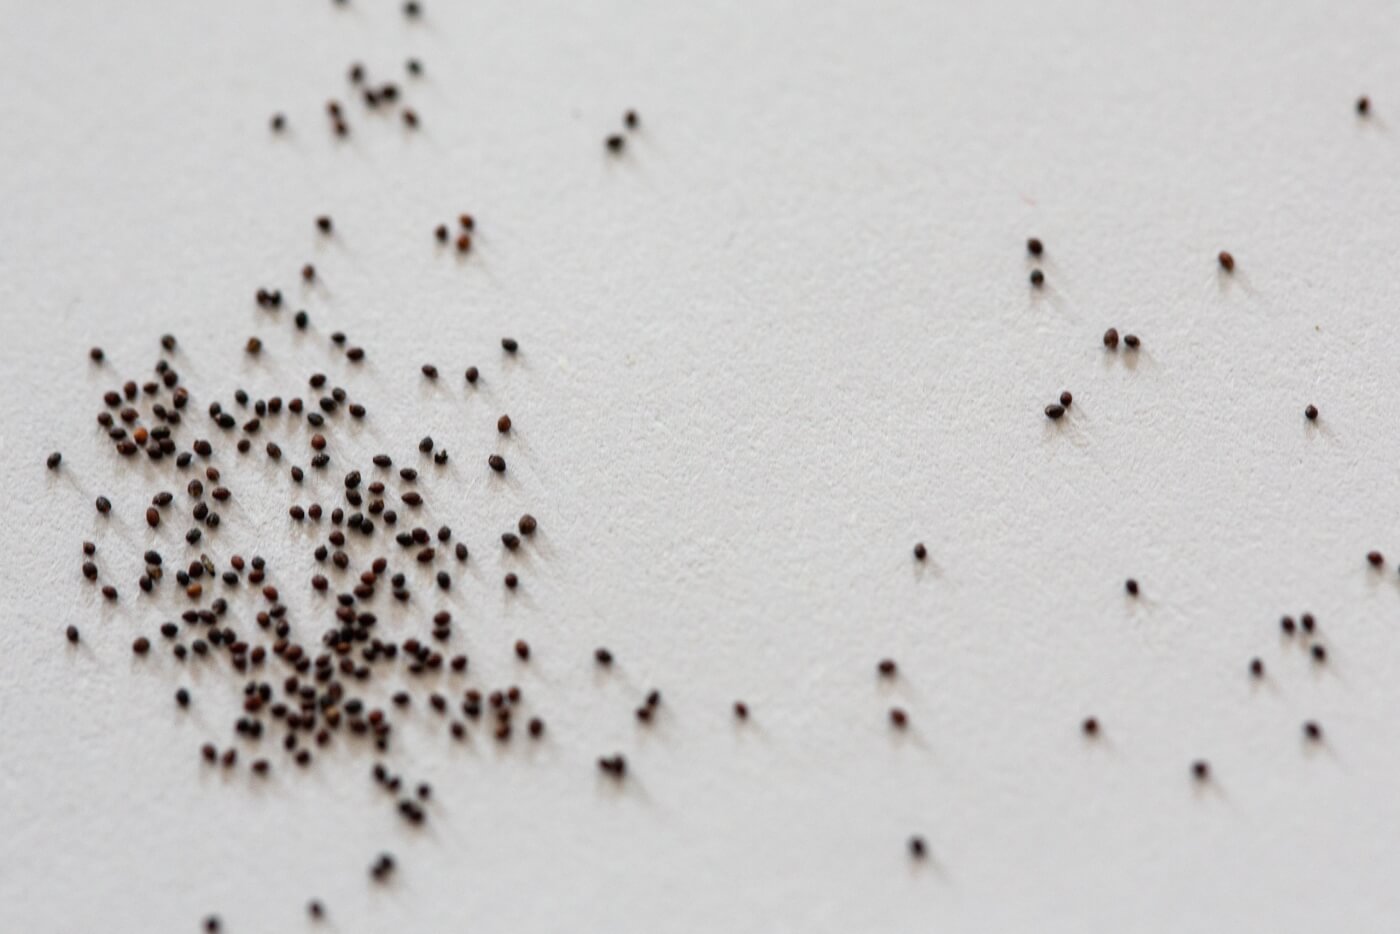
Each plant has a slightly different growing timeline and may require extra steps, such as soaking seeds before planting. Be sure to read the directions, usually printed on the back of your seed packet, before planting.
Microgreens
- Prepare a draining container by filling it with your soil mix.
- Sprinkle seeds over the potting mix and press them into the soil with your hands.
- Cover the seeds to retain moisture, and then put them in a dark area, such as a cupboard.
- Keep seeds in a dark space for the required amount of time. (The timeframe is typically listed on the seed packet.) Mist the soil regularly to keep it moist.
- After the required time has passed, you can expose your microgreens—which should be little baby plants by now—to indirect sunlight.
- After about a week, you can use scissors to harvest your microgreens by snipping just above the soil line. Most varieties regrow and can be cut several times, and the tray soil can be composted after use.
Herbs
You can either plant herbs from seeds or buy some that have already started growing. When planting herb seeds, be sure to read the directions on the seed packets. Each herb can require slightly different planting and care. In general, you will want to follow these steps:
- Prepare your containers by filling them with soil.
- Follow planting directions on the seed packet to determine seed planting depth.
- After planting, find a sunny place to keep your herbs. You can also use grow lights if preferred, which is a good choice during the winter or if you have little access to natural light sources.
- Keep the soil moist, and be patient as your herb grows.
- To increase the lifetime of your plant, harvest only a small percentage of the leaves at once.
5. Foster the right environment for your plants to thrive.
Most herbs thrive in temperatures between 65 and 70 degrees. They like sunlight! South-facing windows are great for herbs such as thyme, basil, and rosemary that like more sun. Others such as parsley and chives can do with a little less light and might prefer a window that faces east or west. If you want to grow them with a grow light, that’s fine, too.
6. Enjoy Using Your Homegrown Herbs and Microgreens
After the excitement of planting and watching your herbs and microgreens grow, you get to enjoy them. Use them in cooking, for medicinal teas, in beeswax-free salves, and so on. Put basil on pastas, cilantro in a chimichurri sauce, and microgreens on top of a veggie protein bowl. Get creative and try some new vegan recipes with your fresh and homegrown herbs.

Check out PETA’s recipe page if you’re seeking more inspiration:
This piece was written and photographed by Heidi Baxter while she was a PETA intern.

Text VEG to 73822 to get the latest vegan lifestyle tips, recipes, and urgent action alerts texted right to your phone.
Terms for automated texts/calls from PETA: https://peta.vg/txt. Text STOP to end, HELP for more info. Msg/data rates may apply. U.S. only.

Snakebites happen fast. Knowing what to look for can save your dog’s life.

Protect companion animals and wildlife from cold weather and winter storms by following these survival tips.

Make your Vegan Halloween Party “scary,” not scary. Tips and ideas for a fun animal-safe Halloween party!

New vegan interiors from Mercedes, Ford, BMW, Chevrolet, and others take the cruelty out of driving!