Step-by-Step Stuffed Shells
Last week, I was inspired to try my hand at making stuffed shells after I saw a recipe posted on the Daiya Cheese Facebook page.

I know this tasty dish may seem like it would be pretty complicated, but I promise it’s worth it! I’ll be honest—I almost didn’t try it. But man, am I glad I did! To help you out, I’m going to lay it out for you step by step.
Vegan Stuffed Shells
8-oz. box Jumbo Pasta Shells
8 oz. Daiya Mozzarella Style Shreds
1 block extra-firm tofu, crumbled
1/2 cup extra-virgin olive oil
2 Tbsp. nutritional yeast
Pinch of freshly ground nutmeg
1 tsp. dried basil
1 Tbsp. lemon juice
3 garlic cloves, minced
Fresh heirloom cherry tomatoes
Fresh basil leaves
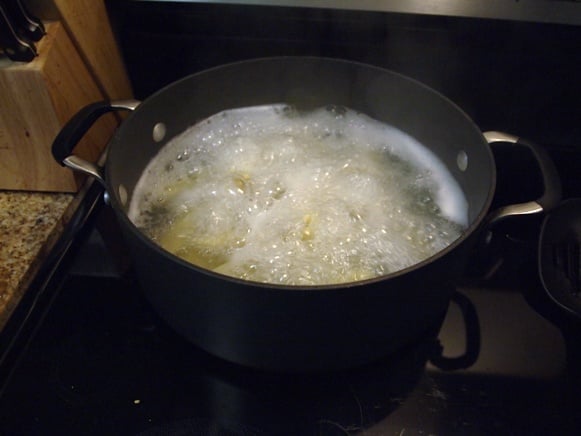
Step 1: Cook Your Noodles
You know how to do this, right?! 😉 Meanwhile, you can preheat your oven to 350 degrees and get started on steps 2, 3, and 4!
Step 2: Prepare Your Tofu Ricotta
Combine the crumbled tofu with the olive oil, nutritional yeast, nutmeg, dried basil, lemon juice, and two cloves of the minced garlic. Feel free to mix in a handful of the Daiya Cheese as well!
Step 3: Slice Your Tomatoes and Basil Leaves
Slice the tomatoes into halves or quarters, depending on your preference. To cut basil into slivers, layer several leaves and roll. Then slice into thin strips.

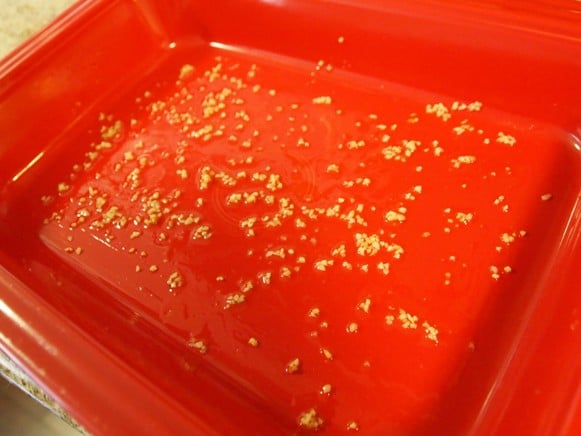
Step 4: Prepare Your Baking Dish
Coat the bottom of the dish with the remaining oil and minced garlic.
Step 5: Add Shells to an Ice Bath
After draining your noodles, add them to a large bowl filled with ice water. This will stop the cooking process and allow your shells to cool enough to handle.
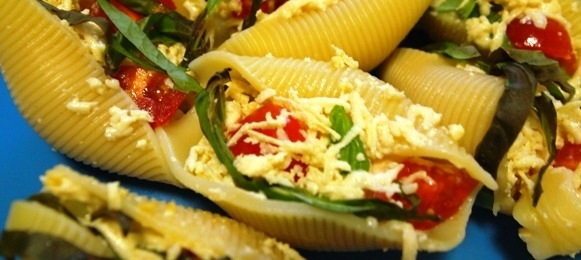
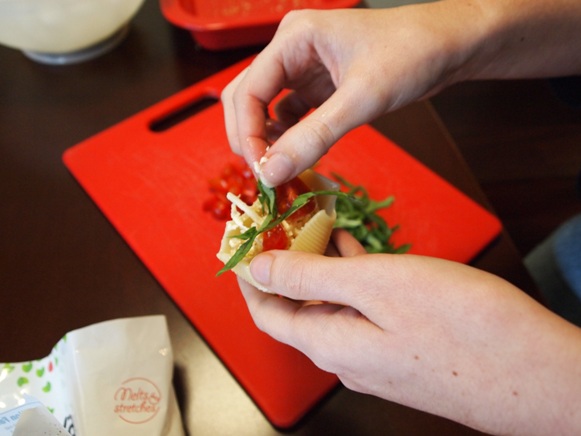
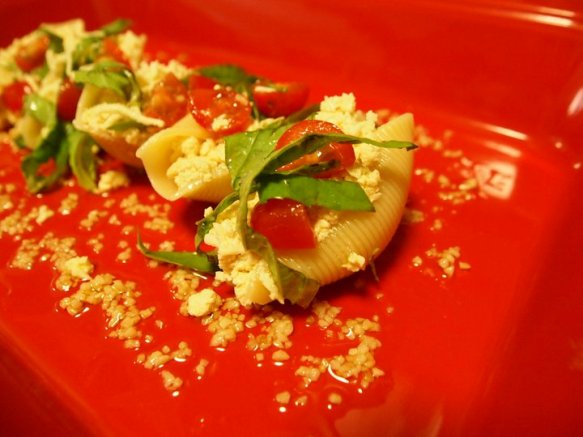
Step 6: Stuff Those Shells!
Fill the shells with the tofu ricotta, then sprinkle on some Daiya cheese and add the basil and tomatoes. Then sprinkle with more Daiya.

Step 7: Bake
Cover your dish with a tightly fitting lid or aluminum foil. Bake for 20 minutes.
Enjoy!
This recipe was adapted from AllergyFreeMom.com.

You May Also Like

Chef Philip Khoury has delved deep into patisserie in an attempt to make desserts that are “cleaner” and that present finer flavors and textures. In this cookbook, he transforms the traditional building blocks of baking by using plant-based ingredients, including ones that have been in use for over 100 years.